
How to lay SMARTBLOCK® blocks
The SMARTBLOCK® system is laid following the same rules as concrete blockwork. To achieve the declared performance, what matters is the choice of mortar, care with the first course and compliance with building regulations. These are the steps described in the ESB installation manual.
 01
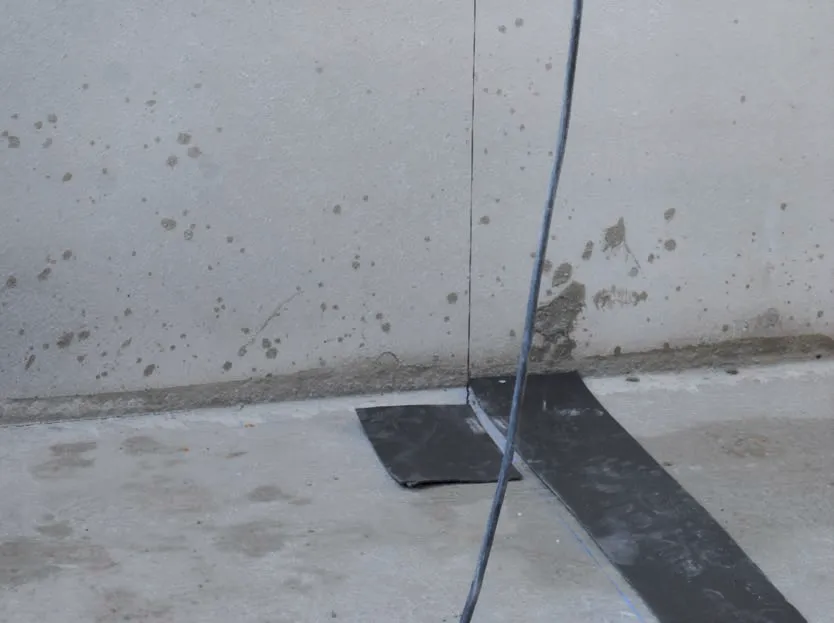
01Base preparation
Check the slab or wall beam casting and correct any unevenness. Set out the wall and check its verticality. Lay a damp-proof course or a polyethylene sheet to separate the floor from the wall.
 02
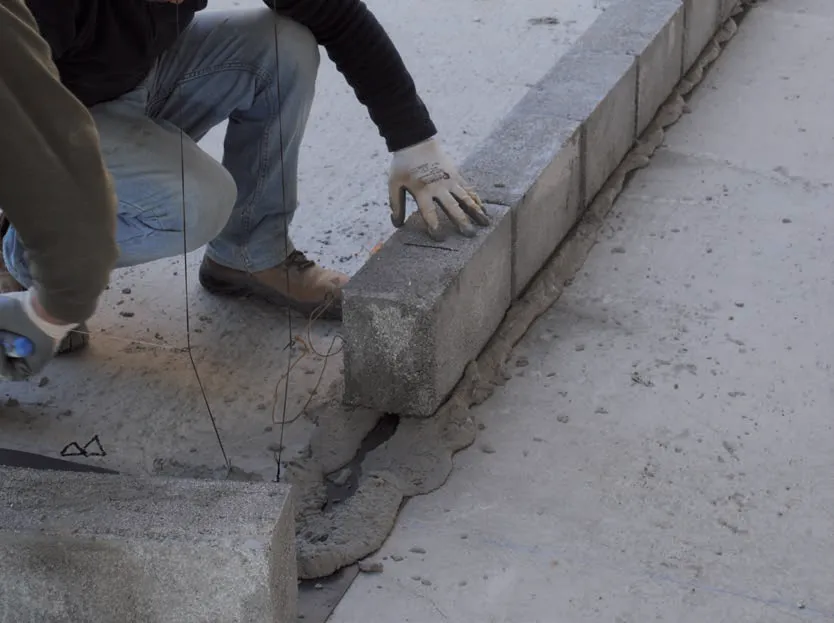
02First course
Lay the first course of blocks on a bed of cement mortar and check flatness, level and plumb with a spirit level. Correct the alignment with a rubber mallet.
 03
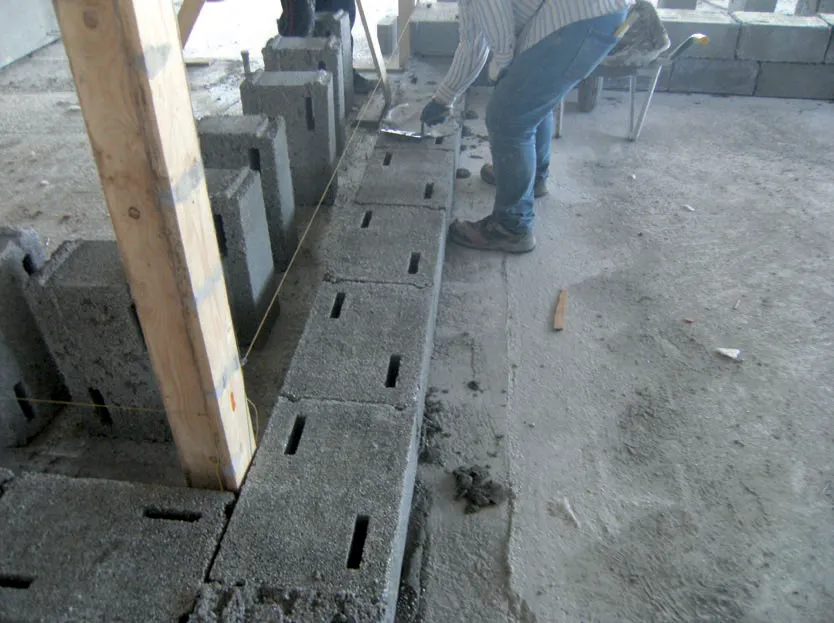
03Following courses
Lay the following courses with joints staggered by half a block, using Malta Block 600 thermal mortar applied with a trowel or mortar rollers. Check flatness and plumb at every course. In reinforced concrete structures use galvanised bed-joint reinforcement to spread the load; where internal walls meet, bond them together.
 04
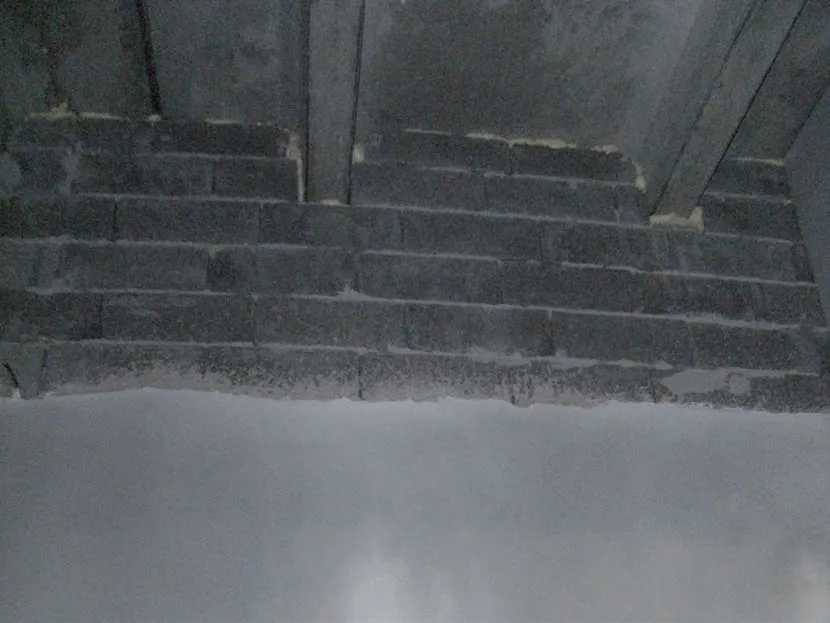
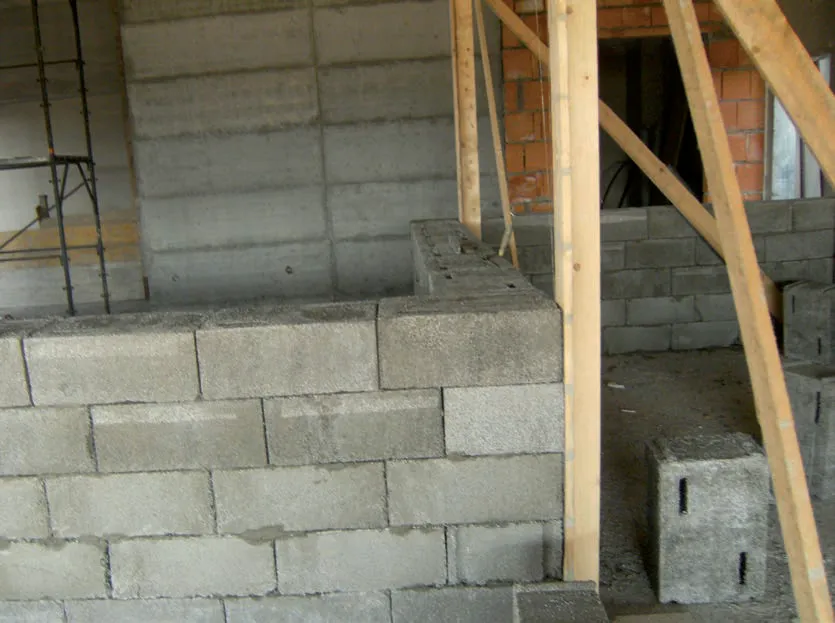
04Closing the wall
Leave a 1–2 cm joint at the top, sealed on both faces with an elastic material such as polyurethane foam or rock wool. Cut the last course of blocks to size.
 05
05Anchoring
Tie the wall to the reinforced concrete structure as instructed by the designer. The most common method uses grouted bars or metal brackets fixed with anchors every three courses.
 06
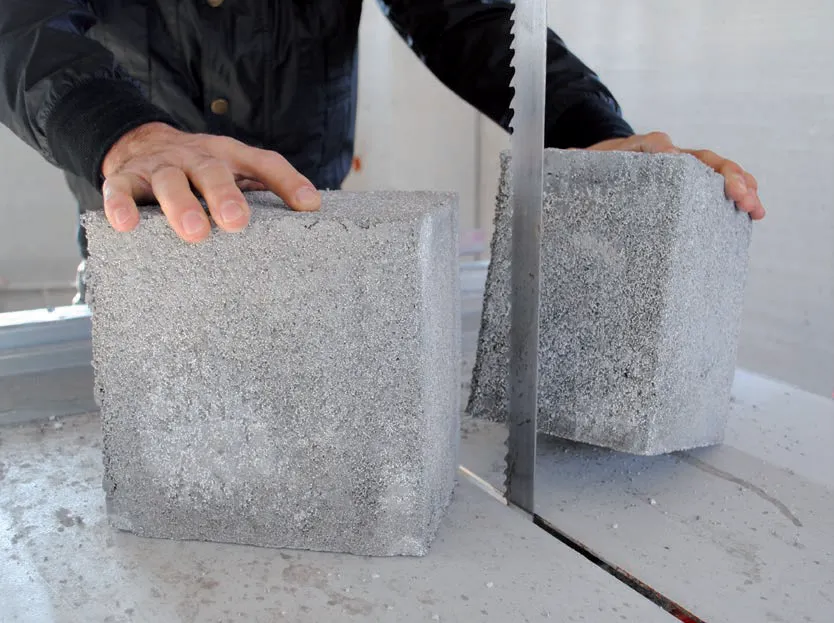
06Cutting and chases
Blocks are cut with angle grinders, circular saws or band saws. Chases for services and pipes are made with wall chasers and sealed with Malta Block 600.
 07
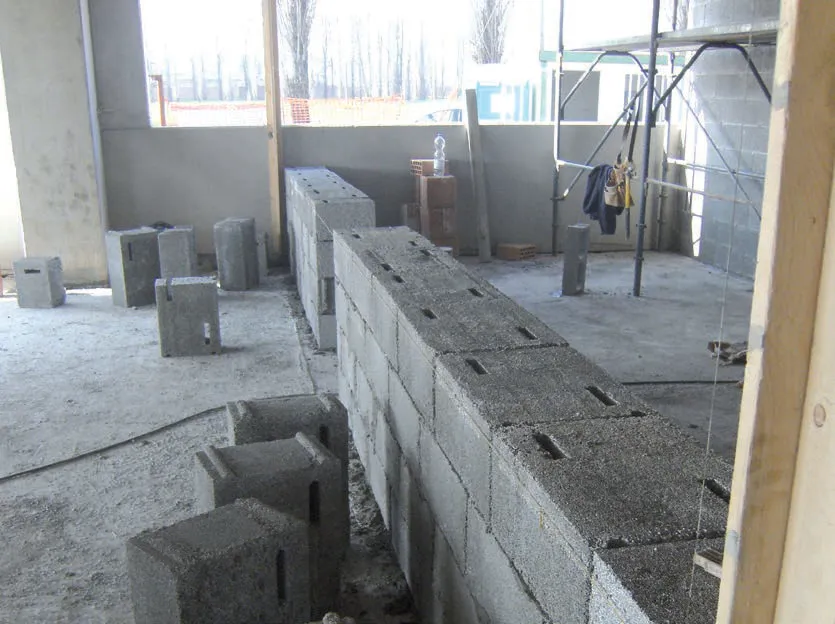
07Lintels and thermal bridges
The system includes reinforced lintels for openings up to 3.00 m, bearing 25 cm on each side. Sub-frames and hinges are fixed with cement mortar or chemical resin; the internal finishing of openings is done with Malta Block 600. Thermal bridges on horizontal and vertical structures must always be corrected.
Compatible plasters
The SMARTBLOCK® system accepts several types of plaster, inside and outside. Always follow the plaster manufacturer’s instructions.
| Cement plaster | Inside and outside, 1–2 cm. Plaster mesh of at least 140 g/m², overlapped by 10 cm. |
|---|---|
| Fibre-reinforced cement plaster | Inside and outside. Glass-fibre mesh extending 20 cm beyond changes of material. |
| Gypsum plaster | Inside only. |
| Isolteco® thermal plaster by Edilteco | Recommended outside, up to 4 cm, with a 4–5 mm reinforced skim coat and mesh of at least 140 g/m². |
| Reinforced skim coat | Micro-fibre cement skim coat such as Edilteco Ecap® ADP, 4–5 mm, with mesh of at least 160 g/m². |
The complete manual, with photos of every step (PDF EN, 08/2021)
Got a project? We’ll send data sheets, specifications and a quote.
Tell us densities, thicknesses and square metres: we will reply with technical information and supply conditions.